How to Cross-Stitch a Simple Pattern
Cross-stitch turns a simple grid of Xs into a finished design. It is one of the easiest crafts to learn. All you need is fabric, floss, and a little patience while you find your rhythm.
Tools for this
- Cross-Stitch Patterns — Charts to work from or print, including the flower from the cross-stitch guide, for when you want to stitch something and have not settled on a design.
- Cross-Stitch Lettering — Turn any words into a cross-stitch chart - a name, a date, or a message for a card - in a simple sampler alphabet.
Materials
- 14-count Aida cloth
- Embroidery floss (stranded cotton)
- Tapestry needle (blunt tip)
- Embroidery hoop
- Small embroidery scissors
- Cross-stitch pattern or chart
Steps
Choose your fabric
Aida cloth is the standard fabric for cross stitch. It is an even-weave cloth, which means it has a visible grid of holes. 14-count Aida gives 14 stitches per inch. It is the size most often recommended for beginners. When you cut your fabric, leave at least 3 inches of extra Aida on every side of your finished design. You need that extra cloth to fit the fabric in the hoop and to finish the piece afterward.
Prepare your embroidery floss
Embroidery floss is stranded cotton. Six thin strands are twisted together to make it. On standard Aida, most stitchers to thread the needle. Cut a length of about 18 inches at a time. Longer thread tends to knot or fray before you finish using it.
- How to Separate Floss Strands Without Tangling
- Pinch the cut length near one end Hold the 18-inch length firmly an inch or so from one end, so the remaining strands stay put while you draw one away.
- Pull one strand straight up and out Pick out a single strand and pull it slowly upward, not sideways, letting the rest of the bundle dangle. Taking one strand at a time is the whole trick - pulling two at once is what kinks the floss into a knot.
- Let the remaining strands fall straight The others will bunch up beneath your fingers as you pull; that is normal, not a tangle. Once the strand is free they drop back down and straighten out on their own, ready for the next pull.
- Lay the separated strands together and thread them Repeat until you have the two strands you need, then set them side by side, smooth them along their length, and pass them through the needle as a group.
Pick a tapestry needle
A tapestry needle is the standard needle for cross stitch. It has a blunt, round tip and a large eye. The round point does not split the threads of the fabric or catch your finger. A pointed sewing needle does both. For 14-count Aida, a size 24 tapestry needle is the common choice.
Stretch the fabric in a hoop
An embroidery hoop holds the fabric tight while you stitch. This keeps your tension even. Put the fabric between the two rings. Pull it smooth. Then tighten the outer ring to hold everything in place.
- Reading your chart: Each square on the pattern grid stands for one X stitch on your fabric. The symbol or color that fills the square tells you which floss color to use there. A key is printed with the chart. It explains what each symbol means. Leave any blank squares unstitched.
Find your starting point
Fold the fabric in half one way. Then fold it in half the other way. The two creases cross at the center of the fabric. That point is your starting point. Most patterns are made to be stitched outward from the center.
Secure your starting thread
Secure the tail of a new thread. You can do this in several ways, so pick the one you like. Hold the tail along the back and stitch over it with your first few stitches. Or use a waste knot, which is a temporary knot you trim off once it is covered. Or use , which needs an even number of strands. Any of these is better than leaving the tail loose on the back of the fabric. Use the same method each time you start a new color.
- How to Start a Thread With the Loop Method
- Cut one strand at double length The loop method needs an even number of strands in the needle, so for the two strands this guide uses, pull out a single strand at twice your usual length - about 36 inches to end up with 18 inches of working thread.
- Fold it and thread the two cut ends Fold the strand in half and pass the two cut ends through the needle's eye together, leaving the folded end hanging as a loop. You now have two strands to stitch with and a loop at the tail instead of a knot.
- Make the first diagonal, but do not pull tight Bring the needle up through the fabric at your starting square and take it back down to complete the first diagonal of the stitch, stopping while the loop is still loose on the back.
- Pass the needle through the loop and pull snug On the back of the fabric, slip the needle through the waiting loop and draw the thread up gently until the loop lies flat against the cloth. The thread is now anchored with no knot and no loose tail to work over.
Make the cross stitch
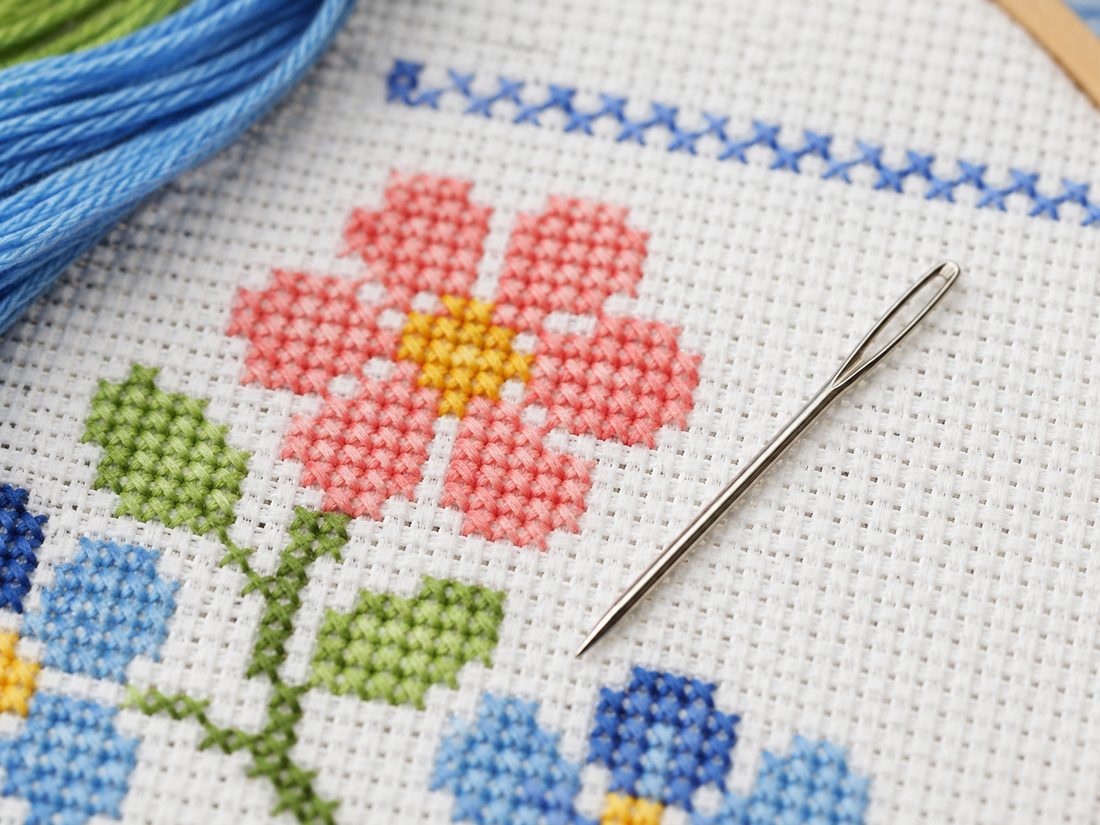
Make one diagonal stitch across a single square of fabric. Then cross back over it with a second diagonal stitch in the opposite direction. Together the two stitches form an X.
- For neat, even results: Always cross your stitches the same way. For example, always make the bottom-left to top-right diagonal first. Then make the bottom-right to top-left diagonal second. If you mix up the order, some top stitches face a different way than others. This is easy to miss while you stitch. It stands out clearly once the piece is finished.
Finish and trim your thread
To finish a length of thread, secure the tail on the back of the fabric. Most stitchers weave it under a few nearby stitches. Some prefer to finish with a small knot. Then trim the extra thread close to the fabric.
Complete your piece
When the whole design is done, take the fabric out of the hoop. If it needs cleaning, . Then dry it flat. Press it face-down under a cloth.
- How to Wash and Press a Finished Piece
- Soak in cool water with a mild soap Use cool water and a small amount of mild, dye-free detergent or plain dish soap. Let the piece sit for around fifteen minutes, moving it gently in the water rather than scrubbing at the stitches.
- Rinse until the water runs clear Rinse in clean cool water several times over, until no soap remains and the water coming off the fabric is completely clear.
- Roll in a towel - never wring Lay the piece face-down on a clean white towel, smooth out the wrinkles, then roll the towel and piece up together and squeeze gently. Wringing or twisting a wet piece permanently distorts the weave.
- Dry flat, then press from the back Unroll and leave it flat until nearly dry, then press it face-down with a cloth between the iron and the fabric. Ironing the front flattens the Xs and takes the texture out of the finished design.
Sources
Each step in this guide is drawn from facts stated by several of these pages independently. Sources that did not corroborate anything used here are not listed.
- How To Cross Stitch, With 29 Free Beginner's Patterns craftpassion.com
- Cross Stitch Quick Start Guide for Beginners - Ugly Duckling House uglyducklinghouse.com
- How To Cross Stitch: A Must Read For Beginners! - Crewel Ghoul crewelghoul.com
- How to cross stitch for beginners - Gathered gathered.how
- Cross Stitch Stitches Made Simple: Beginner's Guide with Free Patterns ... aimdiy.com
Leave a comment
Comments are reviewed before appearing. See our Privacy Policy for how your name and message are handled.
Comments
No comments yet.