How to Grow Garlic
Garlic is easy to grow at home. It does need a cold rest period, a sunny spot, and a well-prepared bed. These steps take you from choosing a site through to curing and storing. Follow them for a generous harvest.
Materials
- Seed garlic cloves
- Compost or aged manure
- 5-10-10 fertilizer, bonemeal, or fish meal
- Straw or chopped leaf mulch
Steps
Pick a planting site
Choose a spot in full sun. That means at least six to eight hours of direct sunlight a day. The soil should be moist, loose, and sandy, and it must drain well. Do not use a bed where onions or other alliums grew last season. Alliums are the onion family, which includes garlic, leeks, and shallots. Ideally, wait at least three years after alliums grew in that bed.
Buy quality seed garlic
Buy seed garlic from a trusted supplier. Seed garlic is garlic sold for planting. Do not plant bulbs from the grocery store. Those bulbs are often treated with chemicals that stop them sprouting. They may also carry pests or disease.
Time your planting
Plant your cloves about a month before the first frost. This gives them time to grow roots before the soil freezes. The plants then grow slowly over the following months. You get a large harvest by mid-summer.
- Garlic needs a real winter to grow properly. After planting, the cloves need several weeks of cold. That is roughly 4 to 8 weeks at 32 to 50 degrees Fahrenheit. In Celsius, that is 0 to 10 degrees. The exact time depends on the variety. This cold spell triggers vernalization. Vernalization is what makes the bulb divide into separate cloves. Without it, the bulb stays one undivided lump, called a "round". This is part of why fall planting matters. It puts the cloves in the ground in time to get that chill naturally, before growth starts again in spring. Gardeners in mild-winter climates can give the cold themselves. Try How to Pre-Chill Seed Garlic in a Mild Winter
- Leave the bulbs whole Keep each bulb unbroken until planting day. Cloves split off early dry out at the cut face, and the papery wrapper is what protects them while they are in the fridge.
- Bag them so they can breathe Put the whole bulbs in a paper bag rather than a sealed plastic one. Trapped moisture is what turns stored garlic mouldy instead of dormant.
- Keep them away from ripening fruit Store the bag away from apples, bananas and other ripening produce. The ethylene they give off encourages sprouting, which is the opposite of what the chill is for.
- Give it four to eight weeks A domestic fridge sits inside the 32 to 50 degrees Fahrenheit (0 to 10 Celsius) band the cloves need, so count four to eight weeks back from your planting date and start then.
- Plant straight out of the fridge Take the bulbs out, break them into cloves and get them in the ground the same day. Letting them warm up and then chilling them again wastes part of the cold you just gave them.
Prepare the soil
Prepare the soil before you plant. Pull out the weeds and add compost. Then add a couple of tablespoons of 5-10-10 complete fertilizer, bonemeal, or fish meal for each square foot. Work it into the top few inches of soil.
Break apart the bulb
Break the bulbs into single cloves. Leave the papery skin around each clove in place. Choose the largest cloves for your garden.
Plant the cloves
Plant each clove about two inches deep. The pointy end faces up and the root end faces down. Space the cloves four to eight inches apart. If you plant more than one row, space the rows six to twelve inches apart.
Mulch for winter
Does the ground freeze where you live? Then mulch the planting deeply with straw or chopped autumn leaves. Mulch is a thick cover laid over the soil. It helps the plants get through the winter. In spring, once the risk of frost has passed, remove the mulch. Leave only a light layer.
Trim the scapes
Garlic scapes are the curling flower stalks that grow on hardneck garlic. They appear in late spring or early summer, several months after planting. Cut each one off once it has formed one full loop. The plant then puts its energy into growing bigger bulbs instead.
Harvest at the right time
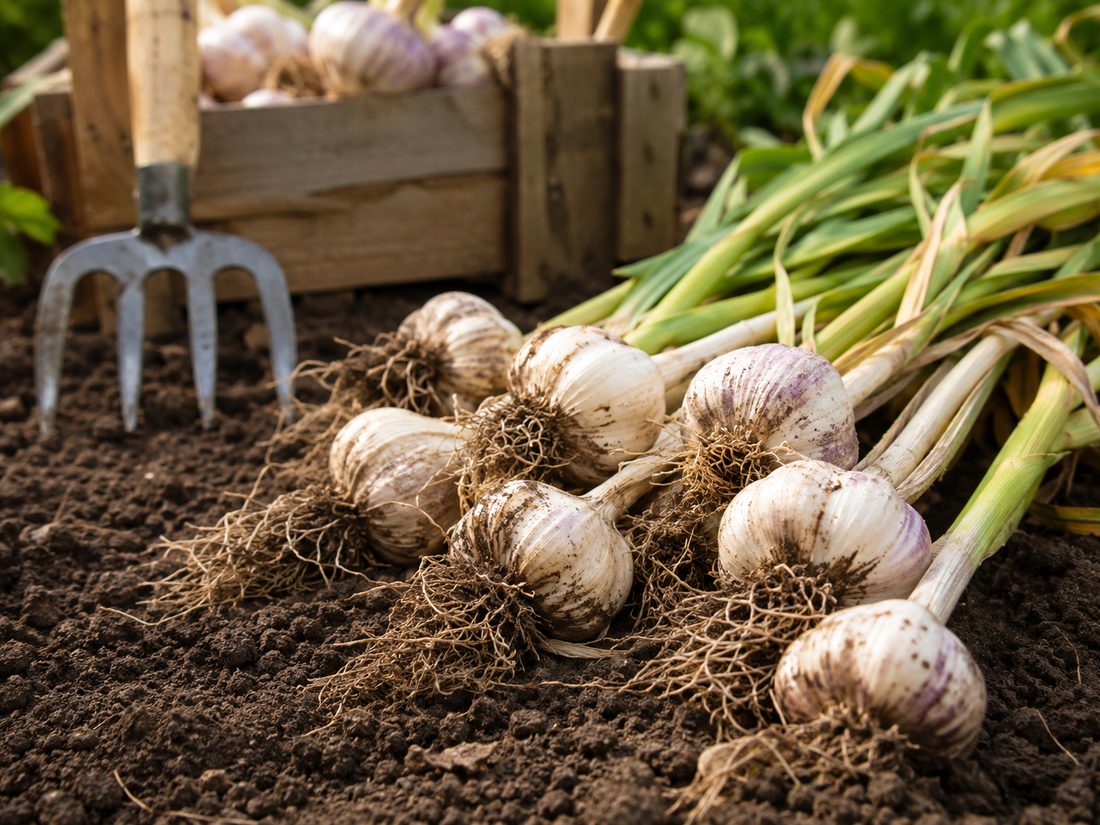
Your garlic is ready when most of the bottom leaves have turned brown. This is usually mid to late summer. Dig up one bulb to check. It should be well wrapped in its skin and not split. Then loosen the soil a few inches away from the plant with a garden fork. Lift the bulb out. Do not pull it up by the leaves, because garlic bruises easily.
Cure the bulbs
After the harvest, brush the loose soil off the bulbs. Then cure them. Curing means drying the bulbs slowly so they store well. Spread them out or hang them in a warm, dry place with plenty of moving air. Keep them out of direct sun. Leave them for two to four weeks, until the tops and roots are dry.
Store the cured garlic
Once the garlic is cured, trim off the tops and roots. Store it in a cool, dark, dry place. Never store garlic in oil at room temperature. Garlic in oil can grow the bacteria that cause botulism, and it looks and smells completely normal.
Tips
- Choose your variety with these chilling needs in mind. Softneck garlic suits warm climates best. Hardneck garlic is the better choice for northern growers.
Sources
Each step in this guide is drawn from facts stated by several of these pages independently. Sources that did not corroborate anything used here are not listed.
- How to Grow and Care for Garlic - The Spruce thespruce.com
- Garlic: How to Plant, Grow, and Harvest Garlic Bulbs | The Old Farmer's ... almanac.com
- How I Grow Garlic For Big Yields Every Year - Garden Betty gardenbetty.com
- The Ultimate Garlic Growing Guide: From Seed to Harvest harvesttotable.com
- How to Plant, Grow, and Care For Garlic - Epic Gardening epicgardening.com
- How to Grow Garlic Step-by-Step (Even if You're a Beginner) hiddenspringshomestead.com
Leave a comment
Comments are reviewed before appearing. See our Privacy Policy for how your name and message are handled.
Comments
No comments yet.